There are three version of the image manager built into the WSMS system, but they all work basically the same way. You can add or delete images from; 1) the main website (administrator only), 2) a web page if the utility is available, or 3) for a photo page (see photo pages for more information).
To modify Images
Main Website Images: From the main administrator menu, click on Manage Images.
Page Images: From the page editor section (bottom of menu), click on Modify Page Images, if it is available for your page type.
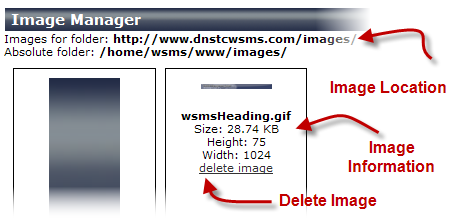
On this screen you can
- See the web folder so that you can add that information to be beginning of the image within your pages.
- Upload a new image and refresh the screen. After uploading a new image, you will have to refresh your screen so that it appears.
- Get the image name, size, and dimensions.
- Delete the image.
Adding Images
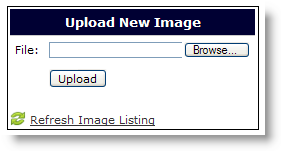
To add new image, use the form provided on the right. This will allow you to browse your local hard drive to find the image you would like to upload to your web server. After selecting your file, click on the Upload button. There will be a page that pops-up telling you that the image was uploaded. In order to see your newly uploaded image, you will have to click on the Refresh Image Listing link.
Updating Images
You may have a situation where you would like to modify and existing image. To do this, simply re-upload the image using the same file name. The image will be overwritten with your new image.
|

|
